
We offer this gasket on our site but if out-of-stock you can easily source them on Amazon or other retailers, they are standard: https://velitcamping.com/collections/air-conditioner-parts/products/velit-rooftop-ac-sealing-gasket
We recommend inspecting and replacing this gasket as necessary to prevent leaks or water intrusion. The time period for replacement will depend on many factors. Yearly replacement is possible in some climates, but most users see 2+ years without resealing, but it just depends.
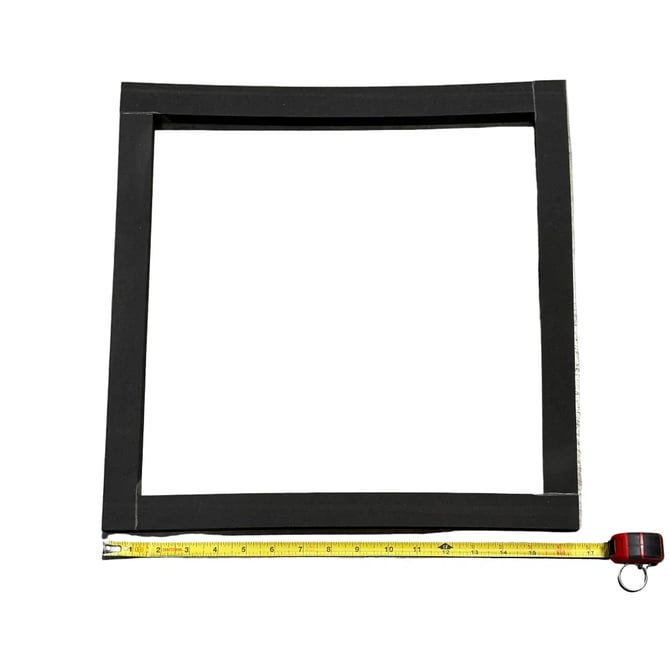
Our Velit AC units ship with gaskets to allow mounting in most applications. If you want to take it further than what we provide there are retailers who produce many different products for mounting rooftop AC units to vans:
Amazon Gasket: https://a.co/d/00EVUYUF
Sealant: We recommend Sikaflex 221 Adhesive or Dicor Self-Leveling Lap Sealant
Sealant can and should be used to help with roof rib gaps and general sealing of the gasket to the roof surface.
Lots of accessories, sealant and options available here:
https://diyvan.com/collections/ac-adapters
Common Roof Ridge Adapters (optional):
(Be sure to check with retailer that product is available and fits your specific van)
Promaster Roof Ridge Match Adapter: https://diyvan.com/products/promaster-roof-air-conditioner-adapter?variant=44083996229851
Ford Transit High & Mid Roof Air Conditioner Adapter: https://diyvan.com/collections/ac-adapters/products/ford-transit-high-mid-roof-air-conditioner-adapter?variant=44083994656987
Sprinter NCV3 and VS30 High and Low Roof Air Conditioner Adapter: https://diyvan.com/collections/ac-adapters/products/sprinter-ncv3-and-vs30-high-and-low-roof-air-conditioner-adapter?variant=44782350008539
Mounting Guidance & Information:
When installing a Velit rooftop air conditioner unit, the gasket must be installed sticky side down directly onto the roof of the van. Placing it adhesive-side down secures the gasket around the roof cutout, preventing it from shifting.
It also allows you to drop the heavy AC unit straight down without accidentally tearing or misaligning a gasket stuck to its underside.
Where to Use Sealant
Because camper van roofs have metal ridges and corrugations, Velit’s official manuals require automotive/marine grade urethane sealant (such as Sikaflex 221 or 3M Window Weld) in the following areas:
- The bare metal edges: Before anything else, paint and seal the raw metal edges of your 14"x14" cutout to prevent future rust.
- Underneath the gasket: Apply a continuous, thick bead of sealant to the van roof (or the bottom of the gasket) over the ridges before sticking the adhesive side down. This fills the gaps created by the van’s roof contours. Some people use butyle tape to fill the valleys in the roof instead of sealant to build a level surface. Note: Sealant needs to dry before placing AC unit on top of gasket, or it will slide all around. Everyone does this step a bit differently to their liking.
- Around the outer perimeter: After pressing the gasket to the roof, apply a continuous bead of sealant completely around the external edge where the foam meets the metal roof. Take time to let the gasket setup and ensure water tight before placing the weight of the AC unit on it.
- Do NOT put sealant on top of the gasket: The top surface of the foam must remain clean so the flat bottom of the AC unit can compress naturally against it. Adding sealant here makes the unit nearly impossible to remove or service in the future without destroying the gasket.
If you are using a plastic roof adapter or leveling frame to flatten out your van's ribs you should have instructions from the manufacture of those products.